Home / Blog / How to Make an AI Phone Case: Turn Any Idea Into a Personalised Design
Personalised Phone CasesHow to Make an AI Phone Case: Turn Any Idea Into a Personalised Design
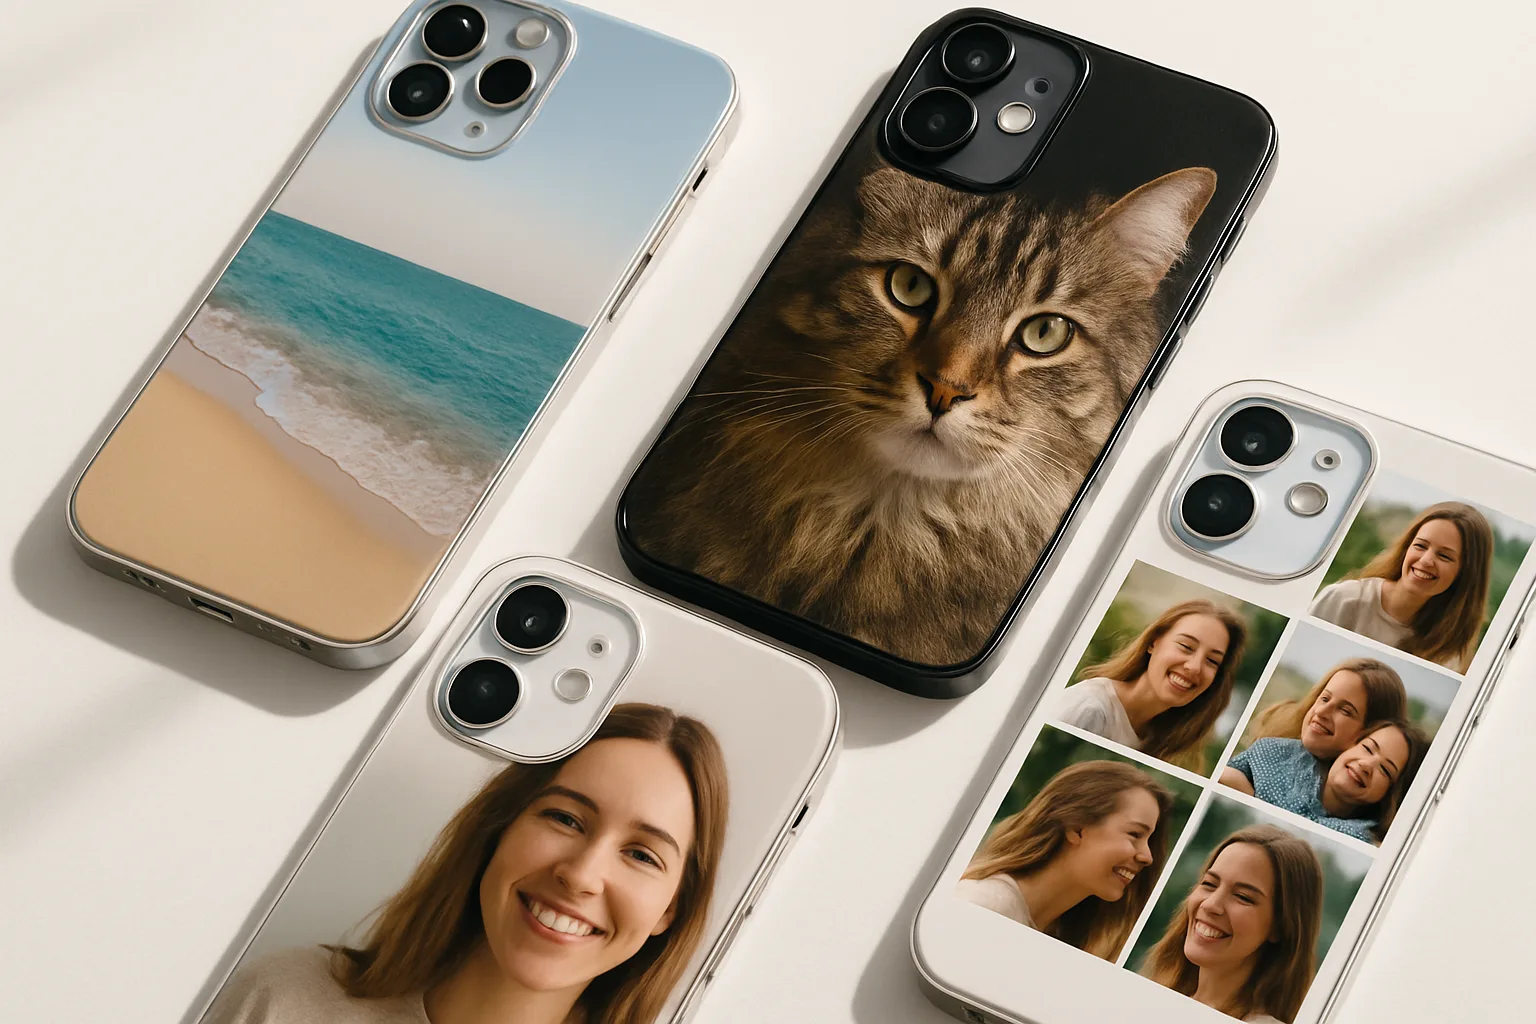
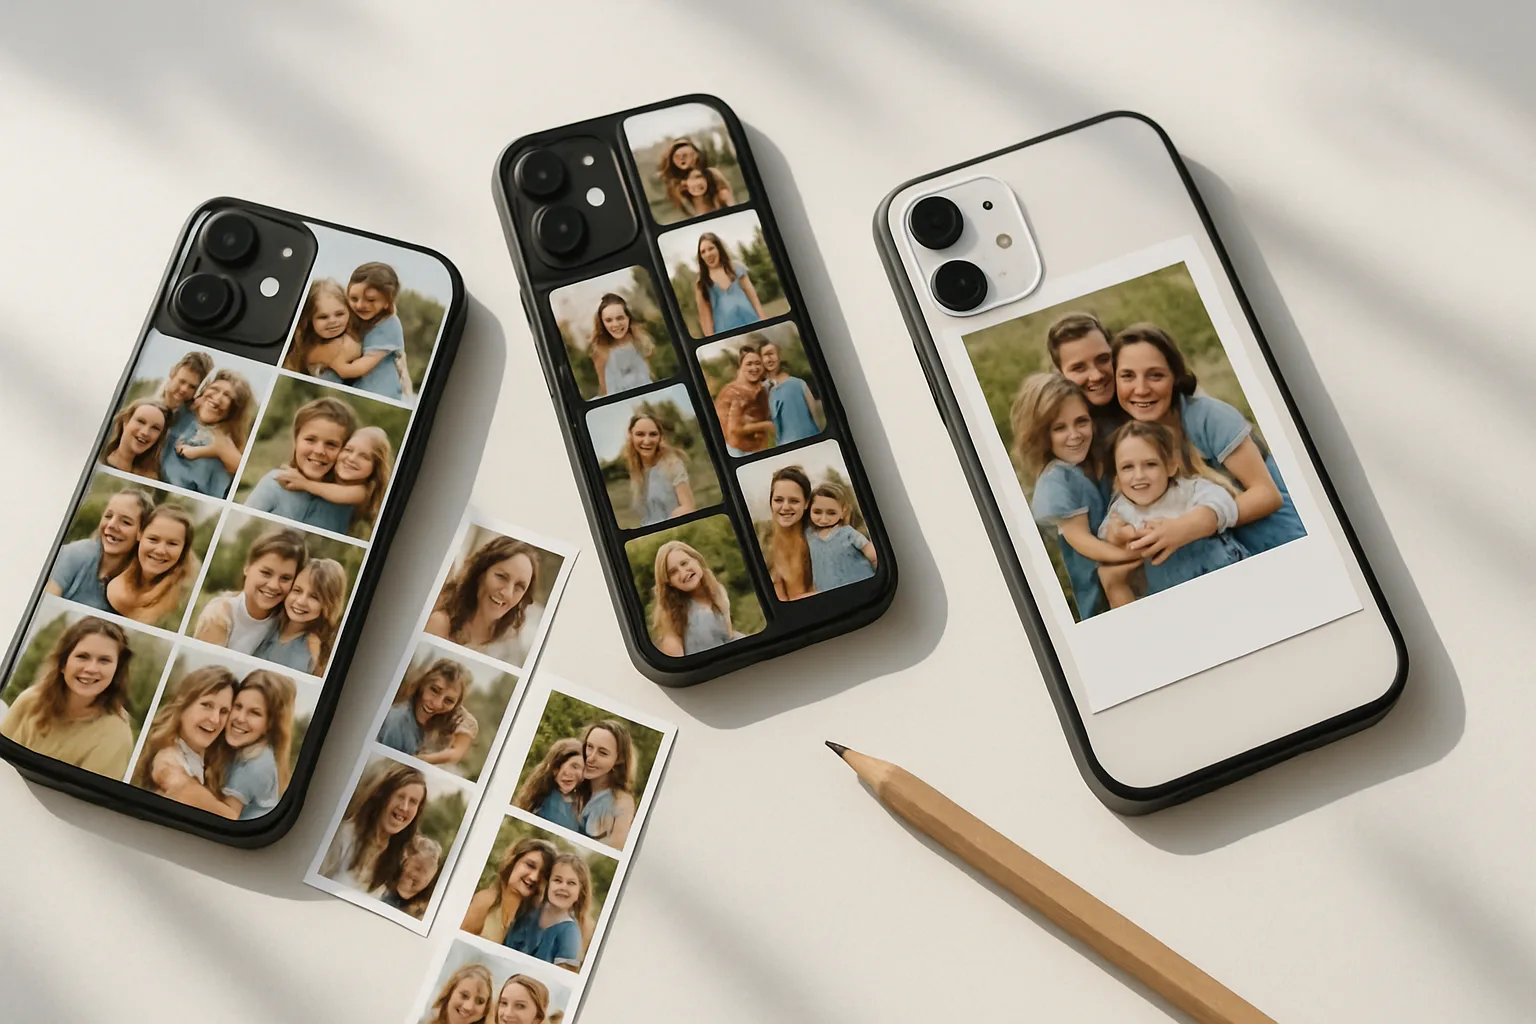
Curious about how to make an AI phone case that actually looks good in real life, not just on screen? This guide walks you through the full process in Design My Case’s AI Studio, from picking the right photo to styling it as a cartoon, sketch or watercolour, building AI backgrounds, and lining everything up neatly in the case preview. You do not need design experience, just an idea and a few minutes.
What you need before you start
Gather a clear photo or two, a simple idea of the vibe you want, and pick your exact phone model so the preview is accurate. If you are on mobile, rotate your phone to landscape while designing. It gives you a bigger canvas and makes cropping easier.
- Photo quality: Aim for sharp, well-lit images. Daylight by a window beats a dark indoor shot every time. If it looks grainy when you zoom in, the print may look soft too.
- Subject placement: Leave a little space around the main subject, especially above and below. This helps when you line it up around the camera cut-out.
- Phone model: Choose the exact device first. The camera shape changes the safe area. We support popular ranges including iPhone and Samsung, plus many others.
Step 1: Upload a photo or start from a blank prompt
Open the AI Studio and pick your phone model. You can upload a favourite picture, or start with a text prompt if you want the AI to create art from scratch. For photos, JPEG or PNG works well. Higher resolution helps the print hold crisp detail on the final case.
If you are using a photo
- Pick a photo with the subject facing the camera, eyes open, and minimal blur. For pets, a clean side profile or a straight-on portrait works a treat.
- Avoid heavy filters. Natural colour gives the AI more to work with.
If you are starting from text
- Be specific. Rather than “city at night”, try “neon-lit Tokyo street, rain reflections, soft film grain, blue and pink glow”.
- Add composition hints like “centre subject”, “wide background”, or “plenty of space at the top”. This helps with the camera cut-out later.
- Name the medium if you have one in mind, for example “watercolour splash” or “graphite sketch”.
Step 2: Choose an AI style, from cartoon to watercolour
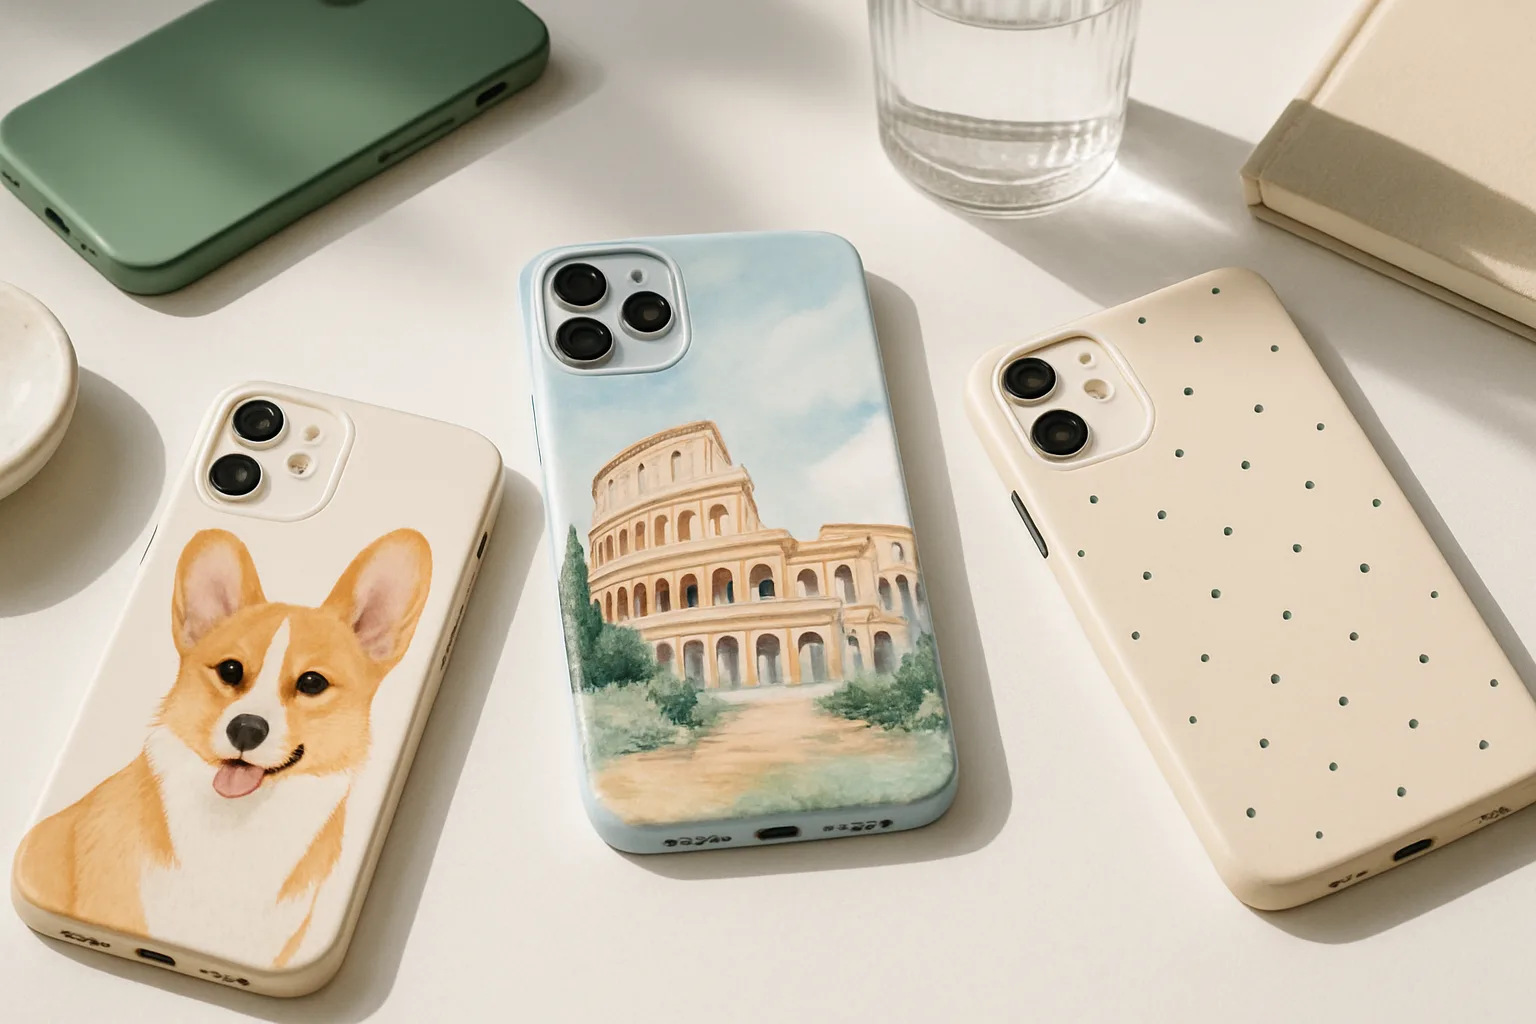
Once your image is in, try stylistic presets. The most requested options are cartoon, sketch and watercolour. Each brings a different mood.
Cartoon
Great for bold, punchy designs and pet portraits. Lines are clean, colours pop, and small details like whiskers or glasses stand out on a case-sized print.
Sketch
Works well for architecture, cars, and moody portraits. Monochrome or light shading keeps things classy and reduces distraction near the camera cut-out.
Watercolour
Soft gradients and a painterly feel. Lovely for travel shots, florals, and landscapes. If you want a dreamy look without losing the subject, this is the one.
Tip from our print team: if you are unsure, generate two or three variations and compare them in the phone preview. The style that looks best at arm’s length usually prints best too.
Step 3: Generate or replace the background
You can keep the original background, blur it, or ask AI for a new one. Swapping a busy kitchen for a clean pastel backdrop can transform the whole design and make your subject shine.
- Simple colour wash: Ask for “soft cream background with light paper texture”. Subtle texture hides fingerprints better on glossy cases.
- Pattern: Try “hand-drawn daisies on sage green” or “retro checkerboard in muted lilac and cream”. Patterns are forgiving around the camera area.
- Scene: “Golden hour beach with gentle bokeh” or “cosy bookshop shelves, warm light” can set a mood without stealing focus.
If you uploaded a person or a pet, use subject detection to keep edges clean while changing what sits behind them. This avoids halos and awkward cut lines.
Step 4: Create a pet portrait with AI
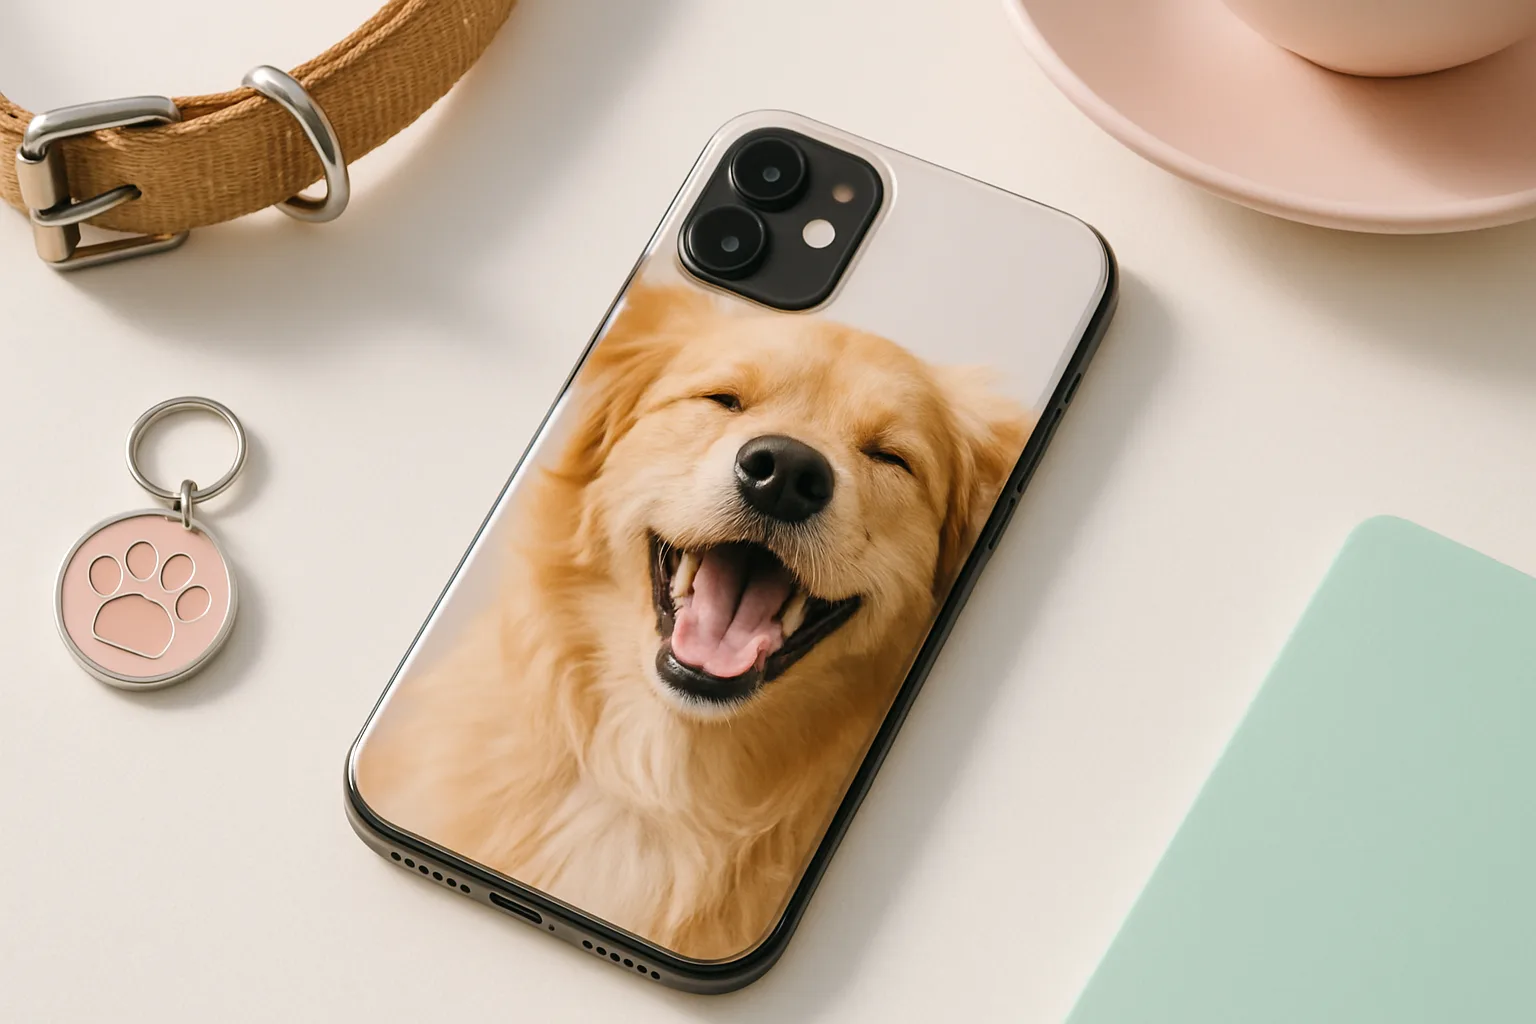
Pet cases are one of the most popular uses of AI. Start with a clear head-and-shoulders shot. Eyes in focus, good light, and a neutral background help. Then choose a style and background that suit their personality.
- Classic cartoon: “Cartoon corgi portrait, warm tan fur, big smile, teal pastel background” gives a bright, friendly look.
- Painterly: “Watercolour tabby cat, soft edges, cream wash background, light paper texture” keeps it gentle.
- Minimal line art: “One-line dachshund sketch, black ink on off-white, centre aligned” is tidy and modern.
Keep the head and ears away from the top edge of the case. You do not want the camera cut-out eating into the tip of a cat ear. We cover camera-safe alignment below.
For more photo selection tips, have a look at our guide on the best photos to use on a custom phone case.
Step 5: Frame it in the phone case preview
This is where good becomes great. The preview shows the live print area with the exact camera cut-out for your model. Use it like a viewfinder and make small adjustments until everything feels balanced.
Cropping and positioning
- Mind the camera: Keep faces, logos and key details clear of the cut-out. Place them slightly lower than you think.
- Rule of thirds: Try nudging the subject a touch left or right. Centred can work, but a small offset often looks more natural.
- Edge bleed: Let background colours and patterns run all the way to the edges. This avoids thin white borders after trimming.
Scale and safe zones
- If your subject feels cramped, scale down until there is breathing room above and below. Our printers trim with a tiny tolerance, so give it a few millimetres of safety.
- Check the bottom ports and side buttons in the preview. Busy detail along the edges can look clipped once the case is on your phone.
Step 6: Fine-tune with prompts and edits
You can refine your result with short, clear prompts and small edits.
- Colour tweaks: “Softer pastel palette”, “warmer tones”, or “muted background, keep subject vibrant”.
- Detail level: “Reduce line thickness”, “add subtle grain”, or “clean outlines around subject”.
- Composition hints: “More headroom”, “subject slightly smaller”, or “centre vertically”.
Avoid long, complicated prompts. Two or three simple instructions tend to give cleaner, more predictable results.
Step 7: Pick the right case model
The case type affects the final look and feel, so choose based on how you use your phone.
- Slim snap case: Clean silhouette, light and pocket friendly. Prints look glossy and sharp.
- Flexible TPU case: Grippy and slightly shock-absorbent. Good for daily knocks and drops.
- Tough or dual-layer case: Extra protection with a bit more weight. Ideal if you are hard on your phone.
If you are not sure which to go for, our post on what phone case you should get breaks down the pros and cons in plain English.
Common mistakes and how to fix them
- Subject too high: If the camera cut-out clips hair or ears, drag the image down a touch and reduce scale slightly.
- Busy near edges: Patterns or text close to the perimeter can look cramped. Add margin or simplify the background.
- Low-light photos: If the source is dark and noisy, try a bright AI restyle or switch to a different photo. You will get a cleaner print.
- Over-detailed prompts: Too many adjectives can confuse the AI. Trim to the 3 or 4 things that matter most.
Order with confidence
Happy with the preview? Double-check the phone model, case type, and shipping address. Our production team prints directly onto the case with durable inks, then quality-checks the finish before dispatch. For delivery timings, see our production and delivery information.
If you are picking gifts for different handsets, you can browse by device, for example personalised iPhone cases or personalised Samsung cases. We also cover Huawei and Google Pixel among others.
Practical examples to try
Travel postcard
Upload a bright holiday snap, pick watercolour, and ask for “soft paper texture, faded edges”. Generate a pastel sky behind your subject and keep plenty of space near the camera area. It ends up looking like a mini postcard you carry every day.
Minimal monogram over AI pattern
Create a gentle repeating pattern, something like “hand-drawn stars, cream on pale blue”. Then add a small initial or name in the lower third. Clean, grown-up, and easy to gift.
Pet hero portrait
Use a straight-on pet photo, switch to cartoon, and drop in a simple colour-wash background that contrasts with their fur. Keep the eyes below the camera cut-out. It pops.
Quick checklist before you hit buy
- Is the phone model correct in the preview?
- Are key details clear of the camera cut-out and edges?
- Does the design still read well when you zoom out to phone size?
- Happy with the case type finish and grip?
- Spelling and dates, if you added text, are all correct?
Ready to create yours?
You now know how to make an AI phone case from scratch, even if you have never designed anything before. Take your idea, keep the prompt simple, watch the camera area, and let AI do the heavy lifting. When you are set, open our AI phone case generator and bring your design to life.
Frequently asked questions
What photo quality is best for an AI-generated phone case?
Use a sharp, well-lit photo without heavy filters. If it looks clear when you zoom in on your phone, it should print nicely on a case.
Can I change just the background and keep my subject the same?
Yes. You can keep the subject and ask AI to generate a new background, such as a pastel wash or a simple pattern, for a cleaner look.
How do I stop the camera cut-out covering my design?
Use the live phone preview and keep faces, text and key details slightly below the camera area. Leave some safe space near all edges.
Which case type should I pick for better protection?
Choose a tough or dual-layer case for extra drop resistance. A slim snap case is lighter and sleeker if protection is less of a concern.
Can I make an AI phone case as a gift for a different phone model?
Yes. Select their exact device in the designer so the preview and camera cut-out are accurate, then order to their address or yours.