Home / Blog / Best Photos to Use on a Custom Phone Case
Personalised Phone CasesBest Photos to Use on a Custom Phone Case
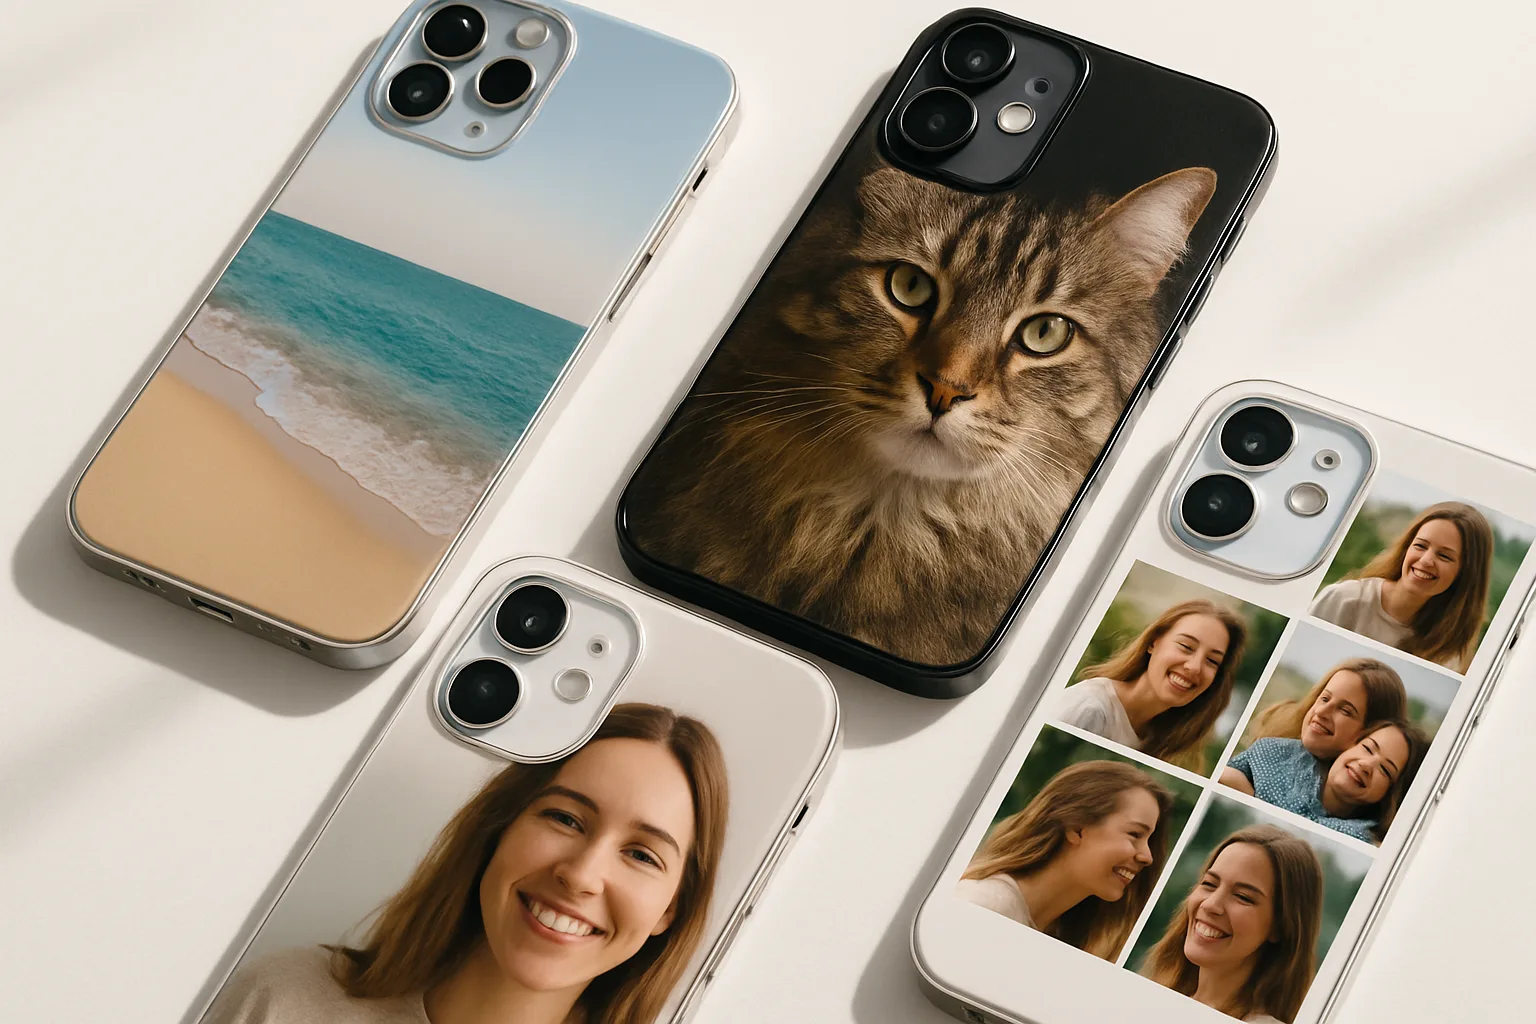
Choosing the right photo for a personalised photo phone case sounds simple, until you try to crop a family snap around a camera bump and everything important ends up on the edge. The trick is picking images that print cleanly, suit the case layout, and still feel like you. Below, we share what works best from our daily experience preparing customer artwork, including quality checks, portrait vs landscape choices, and smart collage ideas for your photo phone case.
Start with quality: resolution, sharpness and file type
Good print starts with a good original. Blurry or low-res images will not magically sharpen on a case. Here is how to set yourself up for a crisp result.
- Use the original file. Export direct from your camera roll or download the full-resolution version from cloud storage. Avoid screenshots or images saved from social apps, which are often compressed.
- Aim for size and clarity. As a rule of thumb, choose photos that are at least 1500 pixels on the shortest side. Bigger is better. If your image looks grainy when you zoom in on your phone, it will likely print the same way.
- Keep noise low. Night shots and heavily edited images can show speckling in print. If you love a low-light photo, consider a black-and-white conversion with gentle contrast to tame the noise.
- File types that work. JPEG and PNG are ideal. HEIC from iPhones is fine, though some browsers convert it to JPEG during upload. Avoid sending images embedded in PDFs or Word files.
- Watch the edit history. Repeatedly saving and re-sharing a photo can degrade it. Use the earliest, cleanest version you have.
Portrait vs landscape photos on a vertical case
Most phones are tall and narrow. That shape naturally suits portrait images, though a landscape can still look brilliant with a bit of planning.
When portrait photos shine
- Single subjects. A head-and-shoulders portrait, a pet close-up, or a single flower can fill the frame beautifully without awkward cropping.
- Leading lines. Paths, trees or architecture that run vertically feel balanced on a case.
- Room for the camera cut-out. Keep key details away from the top-left area where many camera modules sit.
Making landscape photos work
- Use intentional cropping. Pan across the scene so the most interesting part lands in the centre third. Sky and foreground can act as clean borders.
- Add breathing space. Wide beach shots, sunsets and city skylines often crop well because they have negative space at the sides.
- Consider rotation. Some landscapes look great rotated 90 degrees. Try both ways in the designer.
Safe zones, bleed and the camera bump
Cases are printed edge-to-edge, with a trimmed wrap around the sides. That means anything right at the border may be cropped. We build generous bleed into our templates, but good composition makes the difference.
- Keep faces and text inside the safe area. Leave a comfortable margin from the edges. If your subject is touching the border on screen, scoot it inward.
- Mind the camera cut-out. On many models, the camera cluster sits high and left. Avoid placing eyes, logos or key details there. Backgrounds and patterns are perfect in that zone.
- Check orientation twice. It is surprisingly easy to end up with a subtle tilt. Use straight edges in your photo to line things up.
Collages that look polished, not cluttered
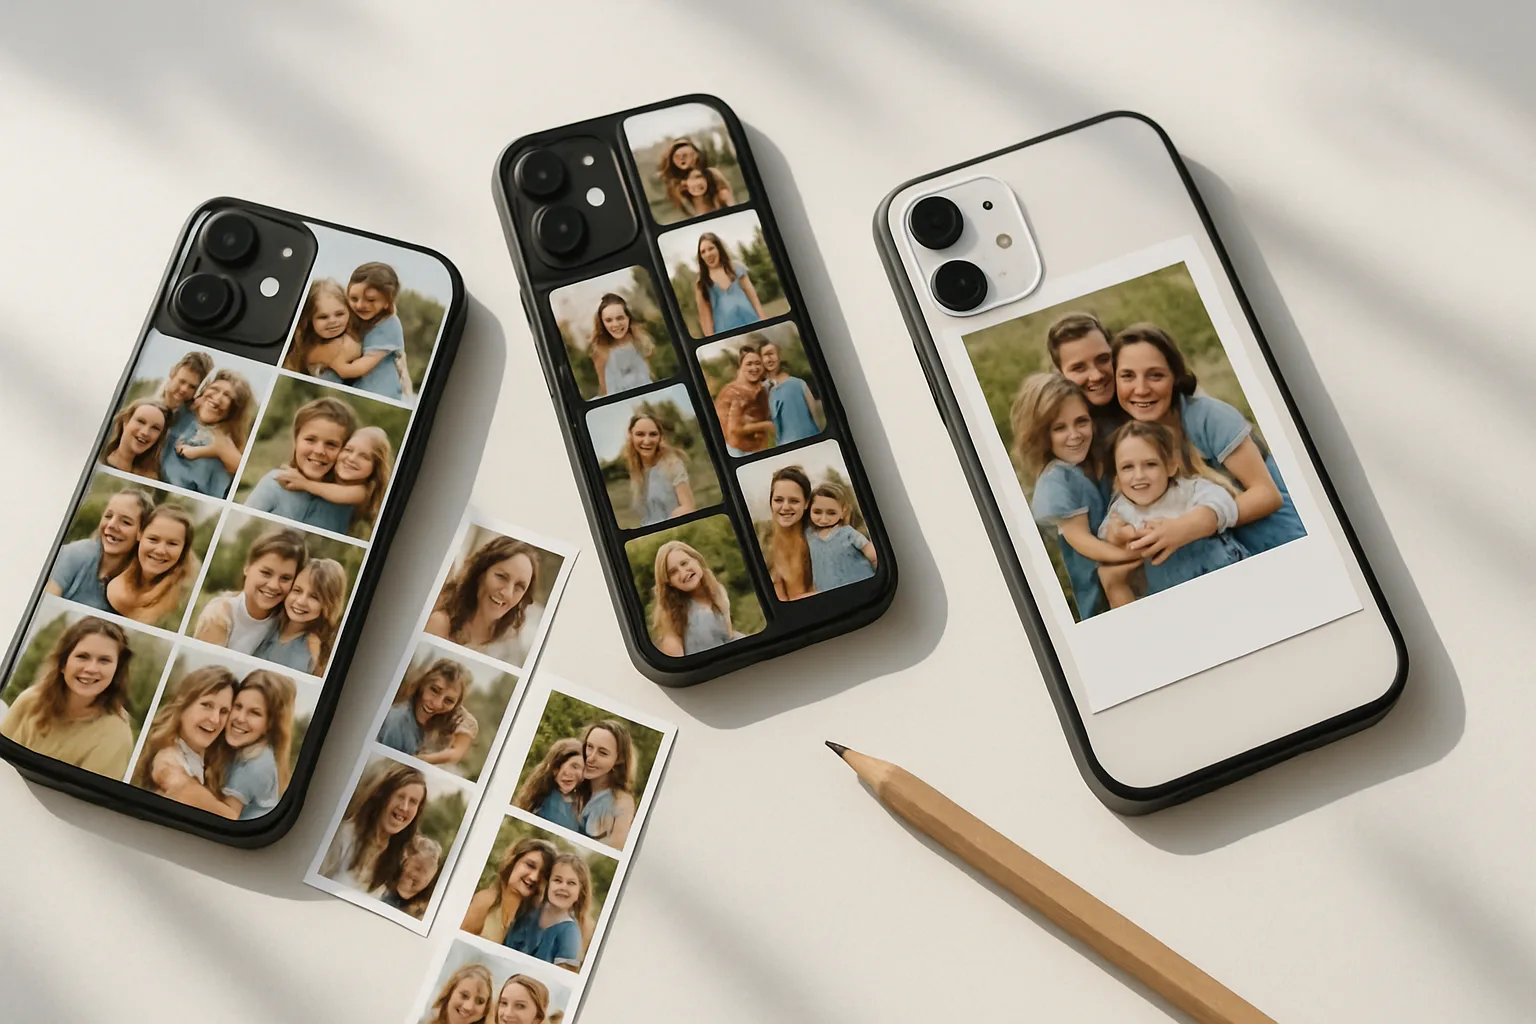
Collages are brilliant for holidays, weddings and new babies, but they need structure. A tidy layout prints better and reads more clearly at arm’s length.
How many photos is too many?
- 1 to 4 images usually gives the cleanest result on a phone-case size. You can go higher, but smaller tiles demand very sharp originals.
- Mix wide and close. Pair one hero portrait with supporting detail shots, rather than six similar group photos fighting for attention.
Layout tips we use in production
- Consistent borders. Equal spacing between tiles looks intentional and prints neatly. Avoid hairline gaps that risk closing up in print.
- Contrast matters. Do not put two dark photos side by side without a buffer. Alternate light and dark, or add a simple white margin.
- Watch tiny faces. If a person’s face ends up smaller than your little fingernail on screen, it will be hard to recognise on the physical case.
Looking for layout inspiration? We put together practical examples in our guide to the best family photo collage ideas for a case.
Colour, brightness and editing that prints well
Screens emit light. Print reflects it. That is why dark images often look darker in real life. Aim for a bright, balanced file rather than a moody one pushed to the limits.
- Lift exposure slightly if your image is on the dim side. Keep highlights in check to avoid losing detail in bright skies or white shirts.
- Moderate filters. Heavy filters can posterise skin or shift colours oddly. A light touch with contrast and saturation keeps things natural.
- True blacks and whites. Slightly off-black backgrounds tend to look cleaner than pure, inky black which can show fingerprints more.
- Skin tones. Cooler edits can make skin look flat in print. Nudge warmth back if faces look grey or blue.
Text, logos and artwork on a photo phone case
Text and graphics add personality, but they need to be legible at small size.
- Use bold, simple fonts. Thin serifs and hairline scripts can break up. Sans-serifs and chunky scripts hold better.
- Keep text away from edges. Allow a decent margin so letters do not wrap around the side.
- High-contrast placement. White text over a busy sky can vanish. Add a soft shadow, a solid banner, or place it over a calm area of the photo.
Pets, kids and action shots
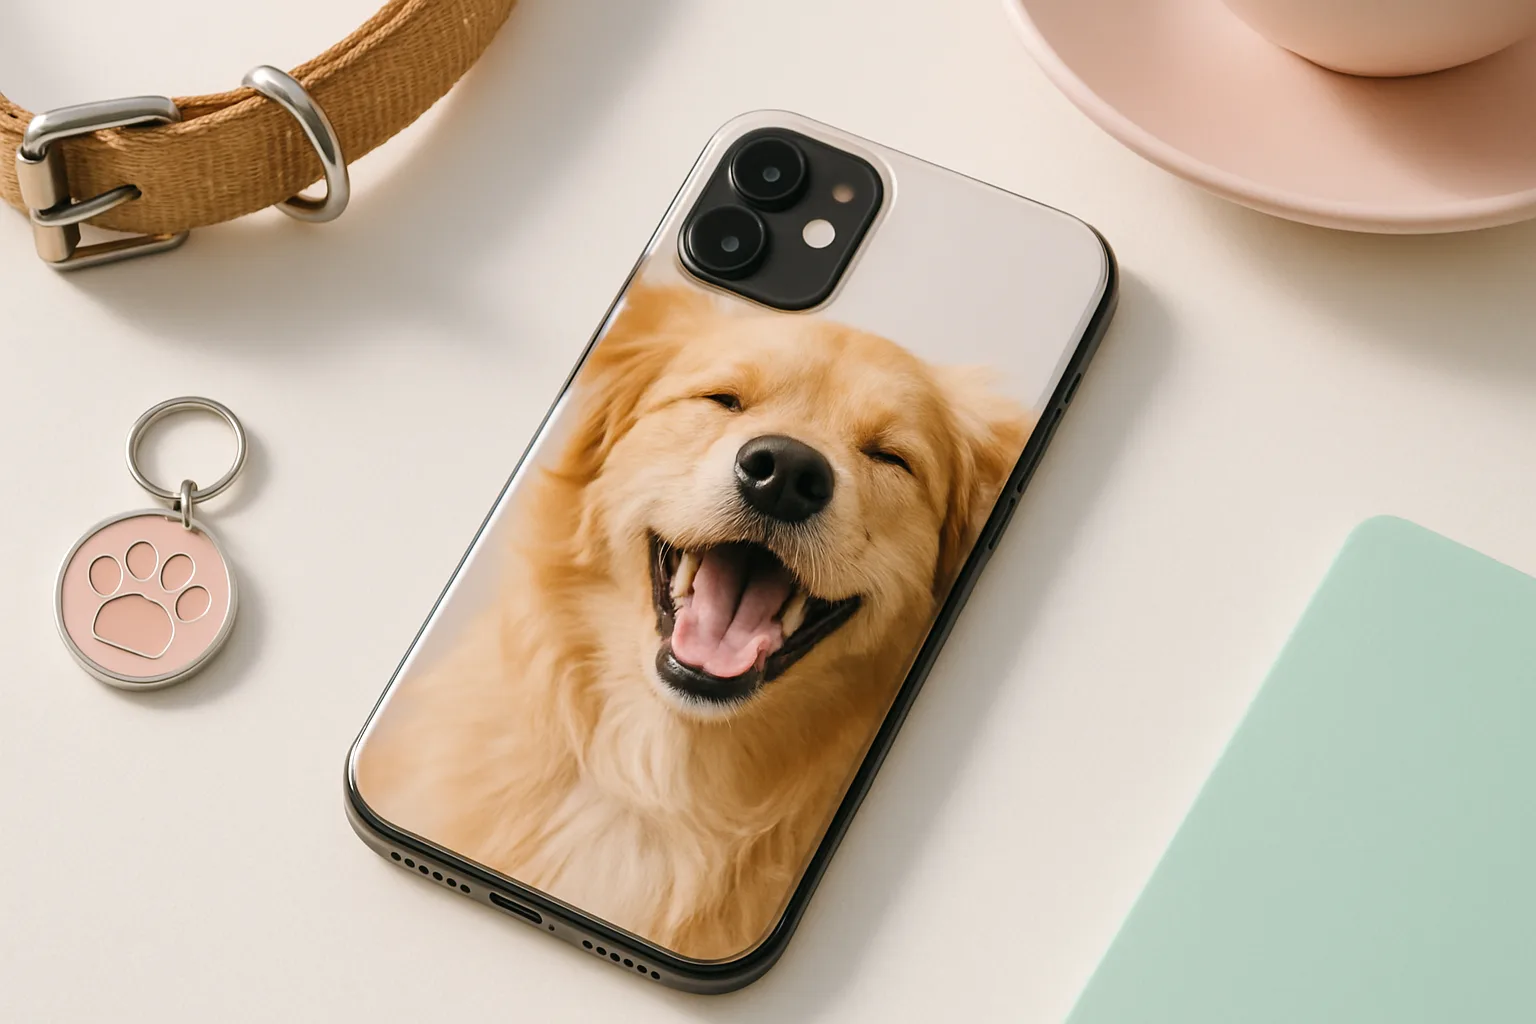
Some of the most loved cases we print feature cats, dogs and candid kid photos. They are full of life, though not always perfectly posed. Here is how to make them shine.
- Go close. Fill the frame with the face. Eyes in sharp focus will always beat a wider, slightly soft snap.
- Use burst mode to catch movement, then pick the sharpest frame for upload.
- Drop busy backgrounds. A plain wall, grass or sky lets your subject pop.
If you are planning a pet-themed design, our team has extra pointers in this pet photo phone cases guide.
Common pitfalls and easy fixes
- Instagram downloads look soft. Social apps compress heavily. Use the original from your camera roll or cloud album instead.
- Screenshots are last resort. They are often lower resolution than the camera file. If it is all you have, keep it small on the layout and avoid cropping.
- Over-zooming on digital zoom reduces detail. Step closer or crop from a high-res original instead.
- Horizon tilt. A quick straighten in your phone’s editor saves a wonky sea or skyline from looking sloppy in print.
Different phones, different fit
Camera modules and case shapes vary across models. A layout that sits perfectly on one device may need a nudge on another.
- Check the live preview for your exact phone model and tweak placement until it feels balanced.
- Keep the subject central if you plan to upgrade phones soon. A centred composition travels better between models.
Ready to try a design on your model? Start from our personalised phone cases and covers page and pick your device to see live sizing and the camera cut-out.
File prep checklist before you upload
- Choose the original, highest-resolution version of your photo.
- Check sharpness at 100 percent zoom. If it looks crisp on screen, it will likely print well.
- Crop for the tall case shape and keep key details away from the edges and camera area.
- Brighten slightly if the image is dark. Ease back on heavy filters.
- For collages, stick to a tidy grid with even spacing and a clear focal point.
Printing and delivery basics
We print directly onto the case surface with durable inks, then cure the finish for everyday wear. If you are working to a date, it helps to allow a little time for production and shipping. You can check current lead times on our production and delivery page.
A quick nudge to get started
Pick one favourite image and try it on your case preview. If you are torn between two, save both designs and come back with fresh eyes. Most people know which one feels right the moment they see it mocked up on their phone. If you want more inspiration later, our blog is full of real examples and practical tips.
Frequently asked questions
What resolution do I need for a photo phone case?
Use the original file if possible and aim for at least 1500 pixels on the shortest side. Bigger is better, especially for full-bleed prints or collages.
Can I use Instagram photos or screenshots?
You can, but quality may be lower due to compression. Whenever possible upload the original from your camera roll or cloud album for sharper results.
Will my image print darker than it looks on my screen?
Often a little. Screens are backlit while print is not. Slightly brighten your photo and avoid very dark edits to keep details visible.
How many photos should I use in a collage case?
One to four images usually looks cleanest on a phone-case size. If you use more, make sure each tile is sharp and keep consistent spacing.
Where should I place text so it does not get cut off?
Keep text well inside the safe area, away from edges and the camera cut-out. Use a bold font and place it over a calm, high-contrast part of the photo.